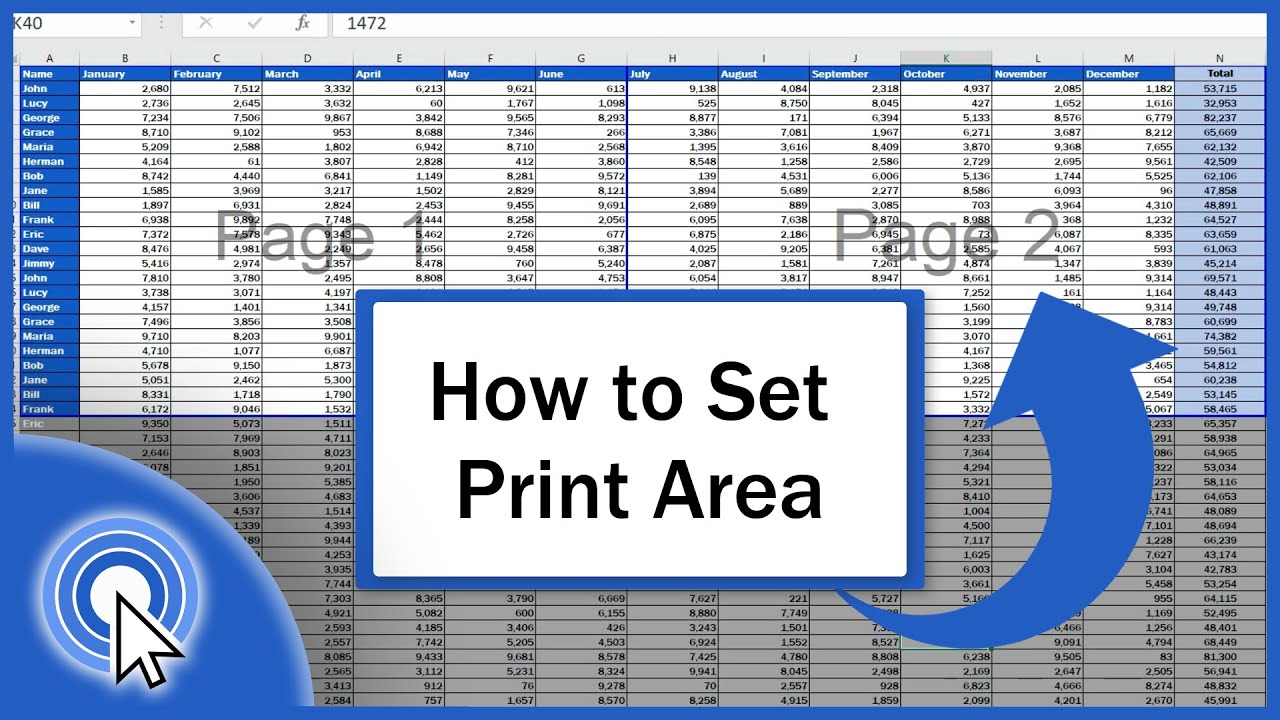
How To Show Printable Area In Excel
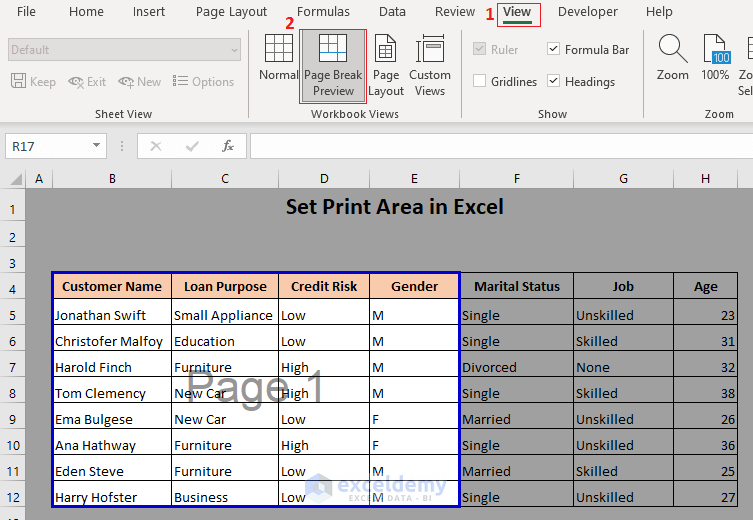
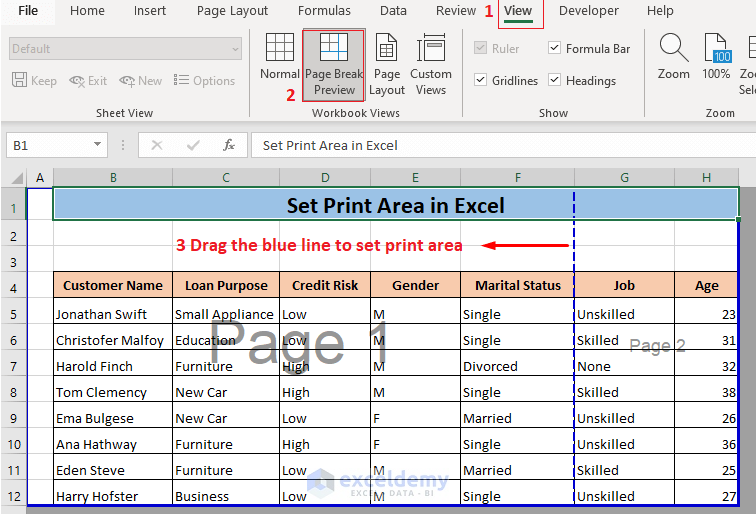
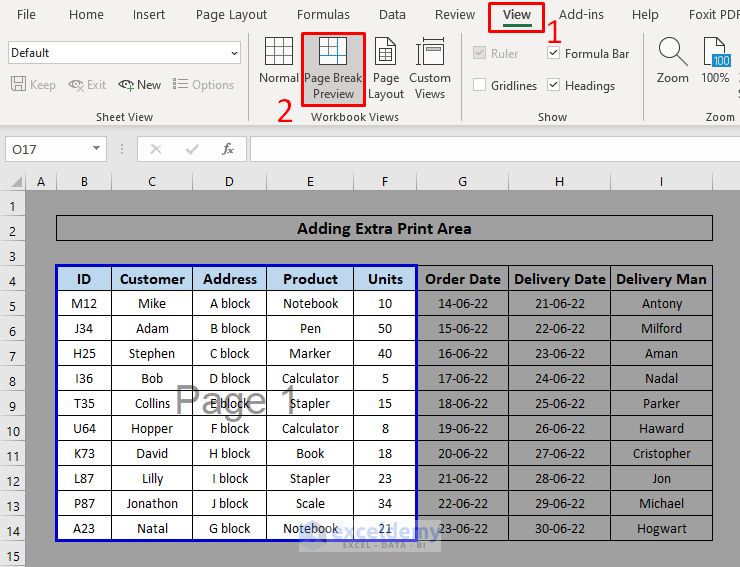
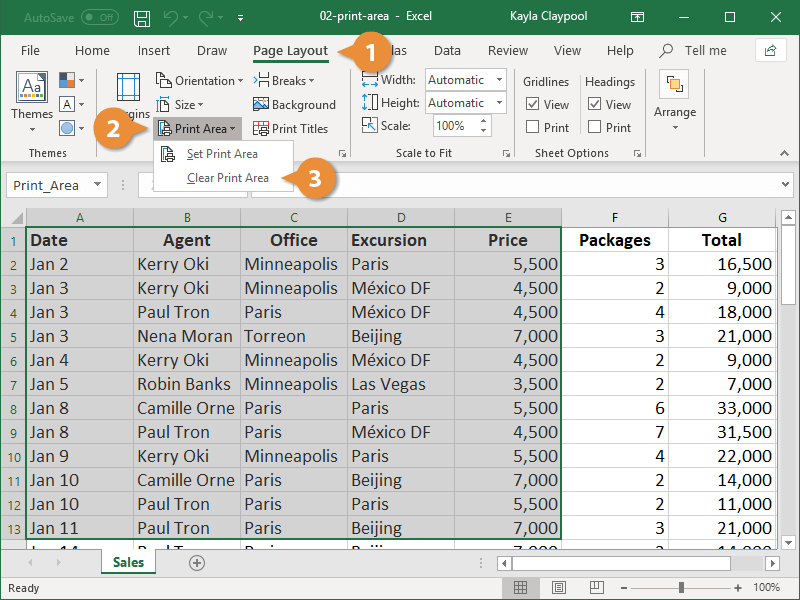
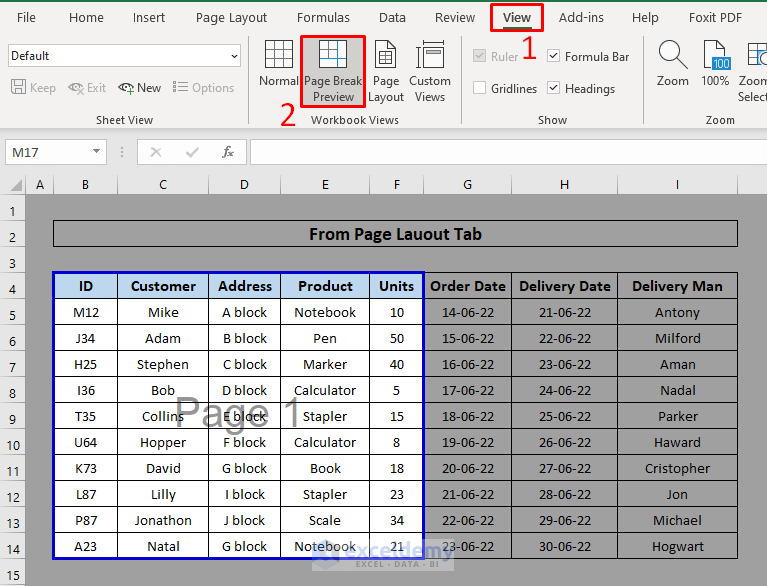
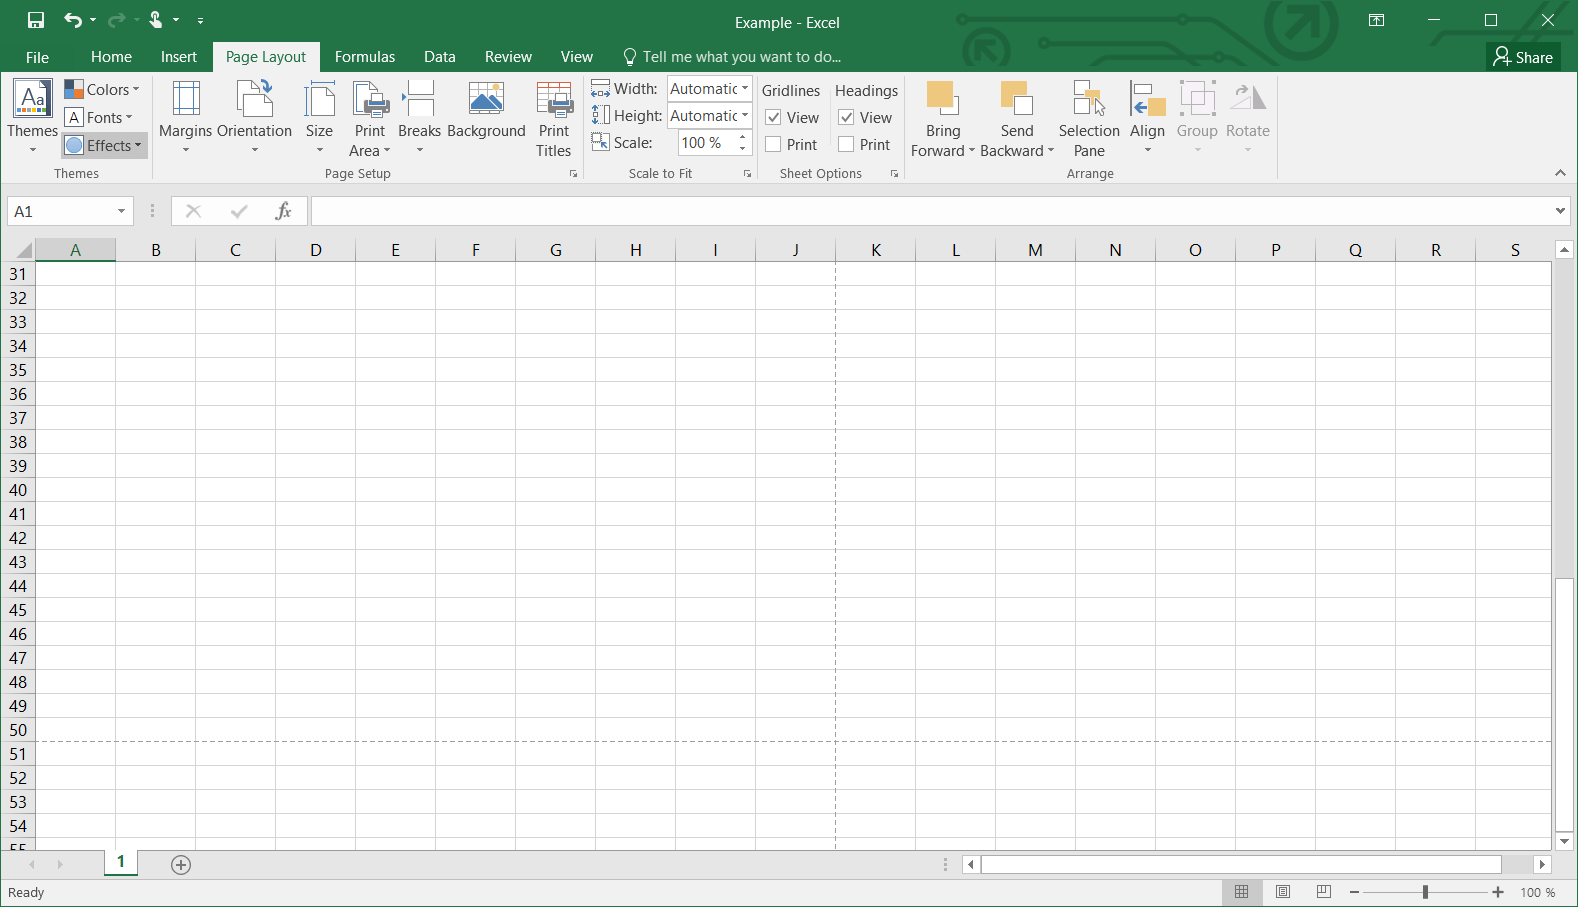
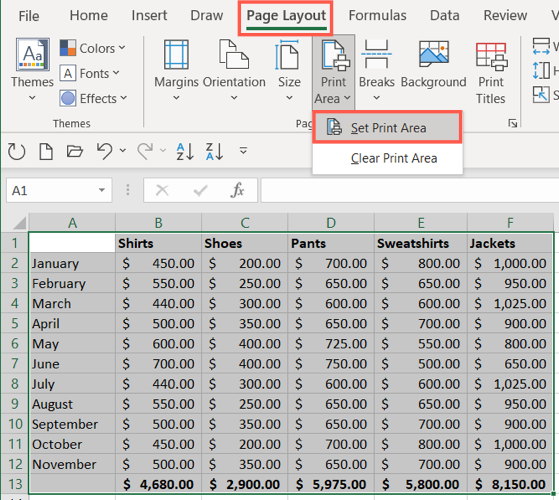
How To Show Printable Area In Excel - B4:e14 and see the print preview. Select the area you want to print> go to the page layout tab> click print areas > select set print area. In this article, i will intrude several methods to only show print area in a worksheet in excel. Select the area or cells on the worksheet that are to be printed. Choose set print area from the dropdown menu. Make adjustments if necessary, then hit print. To view the print area, go to the view tab and select page break preview. The excel spreadsheet lists zip codes with the associated area and district codes. Here, we selected cells a1 through f13, held the ctrl key, and then selected cells h1 through m13. This is where setting a print area comes in handy, allowing you to focus on the most relevant data. Click on print area in the page setup group. Highlight a cell range you want to print exclusively on the paper sheet. For example, here is a illinois population density map per zip code: Here, we selected cells a1 through f13, held the ctrl key, and then selected cells h1 through m13. Here's how to do it: Your print area is selected. Think of this as a dress rehearsal before the big show. Choose set print area. to set multiple print areas in your sheet, hold ctrl as you select each group of cells. Select the cell range to print. Preview of the print area In this article, i will intrude several methods to only show print area in a worksheet in excel. Maybe you just need a specific section or table. Go to the file tab and click print. Go to the print titles option on the side of the print area option. If in such workbook we delete extra data decreasing number of. We have prepared this easily with illinois. Perhaps info is kept in some cache, not sure. Sometimes, you don’t need to print the entire spreadsheet. Only show print area in page break preview view in excel; Your print area is selected. Choose the set print area option from the print area option. Adjusting print area to focus on key data. The print area button in the page setup block of the page layout tab is the default tool for setting a print area in excel. Perhaps info is kept in some cache, not sure. To view the print area, go to. Go to the view tab> then page break. To view the print area, go to the view tab and select page break preview. Only show print area with vba in excel; By following these steps, you’ll be able to get customized printouts that fit your needs. Think of your excel print area like a presentation slide deck for a big. Go to the view tab> then page break. To add cells from b15 to e19 to that print area: To set a print area: If you want to show data distributon per geographical area, density maps (or heat maps) are a great way to achieve this. How to set the print area in excel worksheets. Here's how to do it: Now, press alt + p + r + s to create the print area. You can often see a preview of how the printout will look, allowing you to make adjustments if needed. To set a print area: Only show print area with vba in excel; For example, here is a illinois population density map per zip code: Go to the view tab> then page break. If in such workbook we delete extra data decreasing number of pages to print, let say to one page, above icon still appears. How to set the print area in excel worksheets. Go to the print titles option on the. Click and drag your mouse to highlight the cells you want to print. The print area button in the page setup block of the page layout tab is the default tool for setting a print area in excel. Perhaps depends on layout, but in any case around 2000 pages. Think of this as a dress rehearsal before the big show.. In this tutorial, i will show you several ways to set single and multiple print areas in excel and how to modify and clear them. Select the area you want to print> go to the page layout tab> click print areas > select set print area. Here's how to do it: We have prepared this easily with illinois. Click on. Maybe you just need a specific section. Only show print area with kutools for excel’s set scroll area utility In this tutorial, i will show you several ways to set single and multiple print areas in excel and how to modify and clear them. Now, press alt + p + r + s to create the print area. Adjusting print. Sometimes, you don’t need to print the entire spreadsheet. That way, when you print your worksheet, only that section will print. The excel spreadsheet lists zip codes with the associated area and district codes. If in such workbook we delete extra data decreasing number of pages to print, let say to one page, above icon still appears. In short, you have to navigate to “page layout” > “page setup” > “print area” > “set print area.” in this article, i’ll show you how to set the print area for microsoft excel. Whether you’re using excel online or the desktop application, setting the printable area in excel is an easy way to optimize your data presentation and printing. Select the cell range to print. If you want to show data distributon per geographical area, density maps (or heat maps) are a great way to achieve this. How to set the print area in excel worksheets. Perhaps depends on layout, but in any case around 2000 pages. Till now, we saw how to select and print area in google sheets. The cells that are set as the print area are marked as page 1. Think of this as a dress rehearsal before the big show. To set a single print area, select the cells. This is where setting a print area comes in handy, allowing you to focus on the most relevant data. Go to print layout > print area and select set print area.
How to Set Print Areas in Excel A StepbyStep Guide
How to Set Print Area in Excel (5 Methods) ExcelDemy
:max_bytes(150000):strip_icc()/ExcelPageBreakPreview-5c1c28c8c9e77c00017a2ade.jpg)
How To Show Printable Area In Excel
How to Set Print Area in Excel (5 Methods) ExcelDemy
How to Set Print Area with Blue Line in Excel 5 Easy Ways
How to Set Print Area in Excel CustomGuide
Select Printable Area Excel
How To Adjust Printable Area In Excel
How To Show Printable Area In Excel
How to Set the Print Area in Microsoft Excel
To Set The Print Area, You Select The Area And Hit The Set Print Area Command;
Now, Press Alt + P + R + S To Create The Print Area.
Click On Print Area In The Page Setup Group.
Choose Set Print Area. To Set Multiple Print Areas In Your Sheet, Hold Ctrl As You Select Each Group Of Cells.
Related Post: